
How to measure your chest for shirts accurately
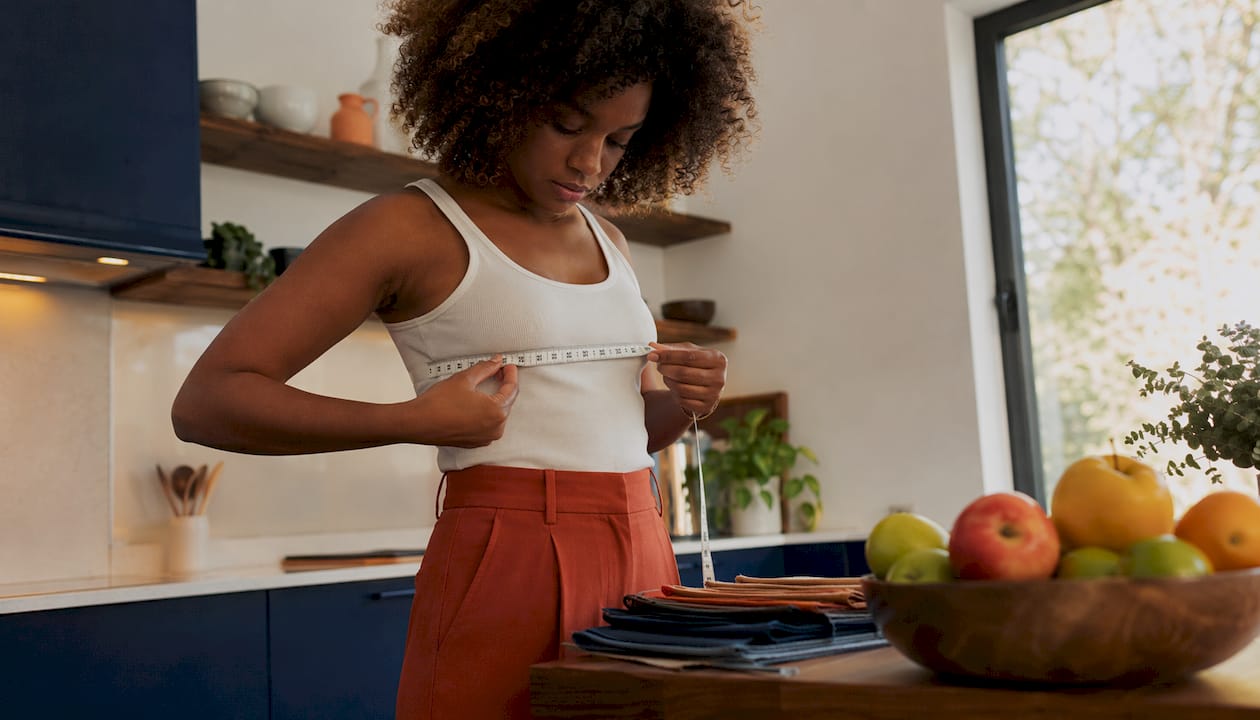
Getting your chest measurement right takes about 90 seconds. Wrap a flexible tailor’s tape around the fullest part of your chest, keep it level all the way around, and read the number. That single figure determines whether a shirt fits or gets returned.
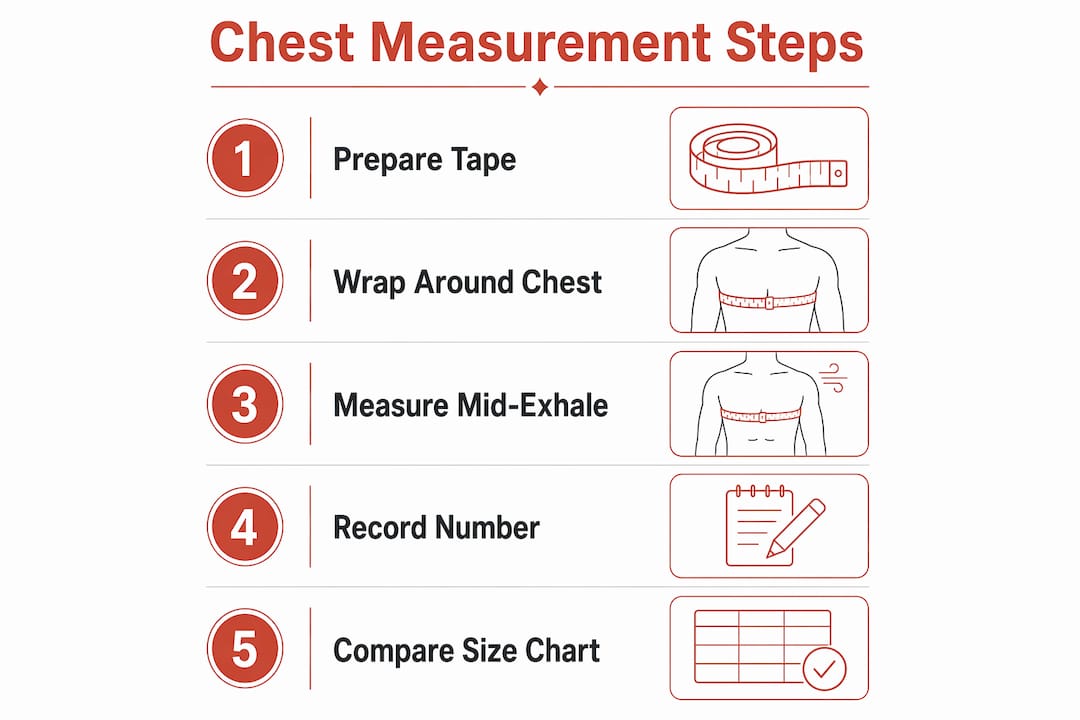
Here is exactly how to do it:
- Grab a soft tape measure. A flexible tailor’s tape is the only tool that follows the curve of your chest. A rigid builder’s tape gives inaccurate results.
- Stand straight with arms relaxed at your sides. No puffing out, no sucking in. Just normal posture.
- Position the tape at nipple height. That is the fullest horizontal point of your chest for men. Keep it parallel to the floor all the way around your back.
- Keep it snug, not tight. You should be able to slide two fingers underneath the tape comfortably. Compression gives you a smaller number than your actual size.
- Measure over a thin base layer or bare skin. A fitted T-shirt is fine. A thick hoodie or jacket adds real inches to the reading.
- Use a mirror or ask someone to help. Measuring alone lets the tape twist at the back without you noticing, which throws off the number.
- Take two or three readings and average them. Bodies shift slightly between breaths and postures, so one reading is rarely enough.
- Record in inches. U.S. size charts almost always use inches, so that is the number you want on hand.
Pro Tip: Take your measurement mid-exhale. Breathing in expands your chest and inflates the number. Mid-exhale gives you the most consistent baseline, which is the figure that actually maps to a shirt size.
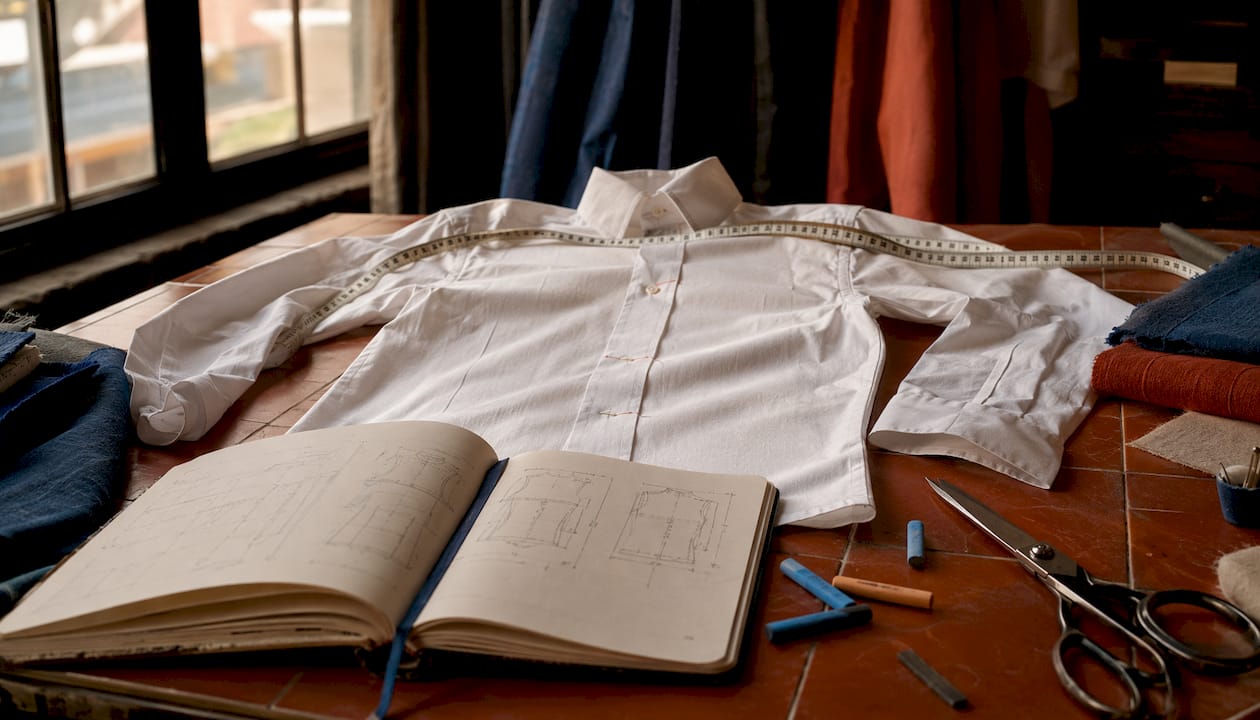
One thing worth clarifying: measuring your body circumference is not the same as measuring a shirt flat. Your body measurement is the full distance around your chest. A garment’s “chest width” listed on a tag is typically the pit-to-pit distance across the front of the shirt, which is only half the circumference. Double a pit-to-pit measurement to compare it with your body measurement.
How to read a shirt size chart using your chest measurement
Once you have your number, the next step is matching it to a size chart correctly. The key is knowing what type of chart you are reading.
Two types of size charts exist: body measurement charts and garment measurement charts. Body measurement charts list the chest circumference of the person who should wear that size. Garment charts list the actual dimensions of the shirt itself. Mixing them up is the most common reason people order the wrong size online.
Most U.S. shirts use body measurement charts. Here are typical chest ranges for standard men’s sizes:
| US Size | Chest Circumference (inches) |
|---|---|
| XS | — |
| S | — |
| M | 39–40" |
| L | 42" |
| XL | — |
| XXL | — |
A few things to keep in mind when reading any size chart:
Check the units first. Some international brands list measurements in centimeters. If a chart says “100” and you measured 40 inches, you are looking at centimeters, not inches. Always confirm before matching.
Account for ease. Shirts are cut with extra room built in so you can move. A shirt labeled for a 40-inch chest is not 40 inches around. It is typically cut 2–4 inches larger than the stated body size. That extra room is called ease, and it is intentional.
Fit style changes everything. A 40-inch chest might be a Medium in a classic fit and a Large in a slim fit. The label stays the same; the cut changes how much room you actually have. Always check whether the brand describes the fit as slim, classic, or relaxed before locking in a size.
Brand sizing varies. Generic size labels like “Medium” are not standardized across the industry. Your body measurement is the reliable constant. The label is not. When you shop a brand for the first time, go by the chart numbers, not the letter.
Pro Tip: Lay a shirt you already own and love flat on a table. Measure straight across the chest from armpit seam to armpit seam, then double that number. Compare it to your body measurement to see how much ease that shirt has. That tells you whether to size up or down with a new brand.
Common mistakes that throw off your chest measurement
Most bad shirt fits trace back to one of these errors made during measuring, not during shopping.
- Pulling the tape too tight. This is the most frequent mistake. Compressing the tape gives a reading that is smaller than your actual chest, and the shirt you order will be too snug. Snug against the skin is correct; digging in is not.
- Measuring over thick clothing. A padded jacket or heavy hoodie adds real inches. Always measure over a thin layer or bare skin.
- Measuring alone without checking alignment. The tape often twists or dips at the back when no one is holding it. A twisted tape measures a longer path than your actual chest circumference, inflating the number.
- Positioning the tape too high or too low. Too high, near the collarbone, gives a smaller number and leads to shirts that pull across the body. Too low, near the stomach, gives a larger number and shirts that fit loosely where they should not.
- Holding your breath or puffing your chest. Both expand the chest temporarily. Breathe normally, or take the reading mid-exhale.
- Measuring only once. One reading can be off. Take two or three and average them.
- Forgetting to re-measure periodically. Body shape changes over time. A measurement from two years ago may no longer reflect your current size, especially if your weight or fitness level has shifted.
Body vs. garment measurements: choosing the right size with confidence
Understanding the difference between these two measurement types is what separates confident online shoppers from people who return shirts constantly.
Your body measurement is the circumference of your chest in inches. Your garment measurement is the dimension of the shirt itself. When a size chart lists “chest: 42 inches,” it usually means the shirt is designed for someone whose body measures 42 inches around, not that the shirt itself measures 42 inches. Always read the chart’s fine print or header to confirm which type it is showing.
The confusion gets worse with pit-to-pit measurements. If you lay a shirt flat and measure from one armpit seam to the other, you get the flat chest width, which is half the garment’s full circumference. A flat reading of 21 inches means the shirt’s full chest circumference is 42 inches. Doubling the flat garment measurement is the step most people skip, and it causes them to order shirts that are far too small.
- When your measurement falls between two sizes, size up for non-stretch or slim-fit shirts. A shirt that is slightly too large can be tailored. One that is too small cannot be let out.
- For stretch fabrics or relaxed fits, the smaller size often works fine because the fabric gives.
- Slim, classic, and relaxed labels are not interchangeable. A 40-inch chest in a slim-fit shirt may need a Large; the same chest in a relaxed cut fits comfortably in a Medium.
- Always check the brand’s specific size guide rather than assuming your usual size transfers. Sizing is not standardized across brands.
- For custom or made-to-measure shirts, your chest measurement goes directly to production. Accuracy matters more here than with off-the-rack sizing, where a size range gives you some margin.
Shopping online gets a lot less frustrating once you treat your body measurement as the fixed reference point and the size label as a rough guide. Whether you are picking up a boxy heavyweight tee or a button-up jersey, your chest number is the one thing that stays consistent across every brand’s chart.
Put your measurement to work with the right shirt

Now that you have your chest measurement, you can shop with real confidence. Thepreciouslamb carries a range of casual and lifestyle pieces built for people who want a genuine fit, not a guess. The Contrast Piped Button-Up Jersey is a strong starting point if you want a structured look with room to move, and the Contrast Striped Lapel Collar Sweatshirt pairs well with a relaxed fit preference. Every product page includes a size guide so your measurement maps directly to the right size.
Key Takeaways
Measuring your chest correctly at nipple height, with a snug but uncompressed tape, is the single step that determines whether a shirt fits or gets returned.
| Point | Details |
|---|---|
| Tape position matters | Wrap at nipple height, parallel to the floor, snug enough for two fingers underneath. |
| Mid-exhale is most consistent | Taking the reading mid-exhale prevents an inflated chest number caused by breathing in. |
| Body vs. garment measurement | Double any pit-to-pit garment figure to compare it with your body circumference. |
| Size labels vary by brand | Always match your body measurement to the brand’s specific chart, not the letter label. |
| Between sizes, size up | For non-stretch or slim fits, the larger size is the safer choice every time. |